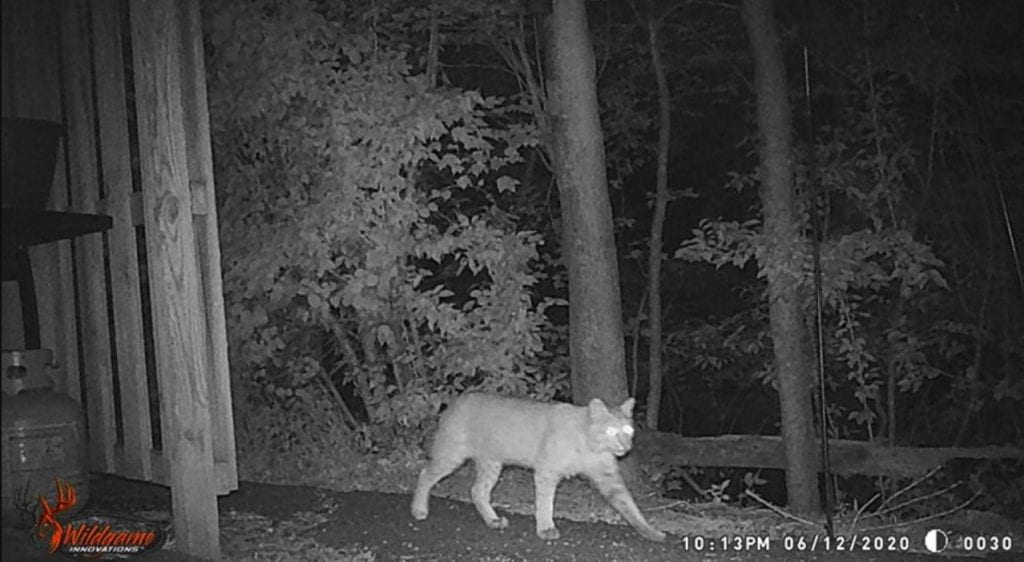
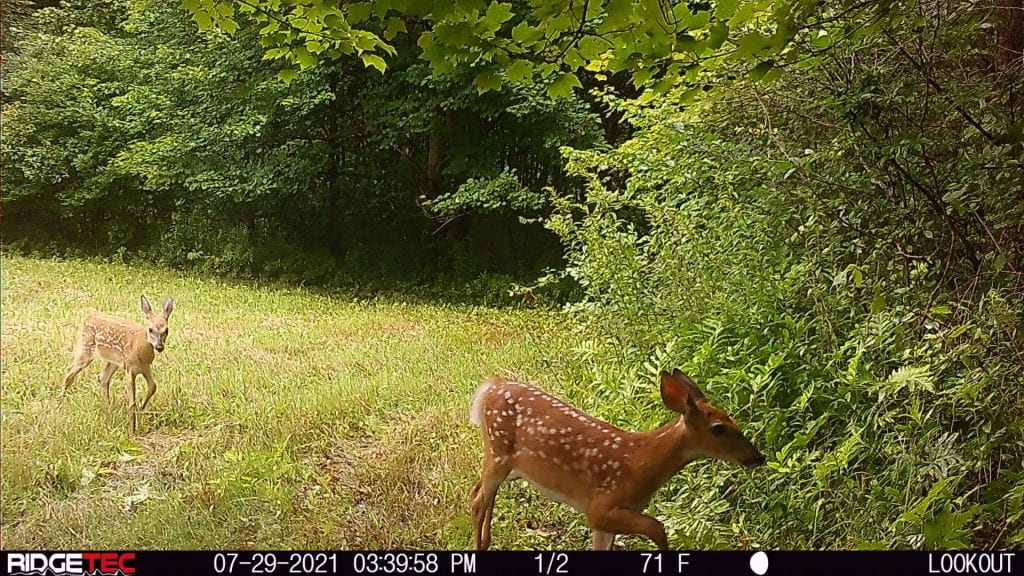
Welcome! Thank you so much for taking the time to submit photos from your trail or backyard camera. Your participation is extremely valuable in contributing to our understanding of the distribution and the behavior of mammals across Massachusetts. For the complete list of mammals we are interested in observing, see our Report a Sighting page.
If you would like these instructions as a PDF, visit MassBears/MassMammals Trail Camera Instructions.


Submitting Photos
For those who already have cameras set up and photos available, please verify that the time and date of the photos are accurate and then submit the photos in any of the following formats: .jpg, .png, .webp or pdf. You can submit your photos/videos using our MassMammals submission form.
Please read the information under “2. Directly upload your trail camera photos to your own Google Drive Folder” on the Become a Volunteer page to find out another way to submit your media to your personal Google Drive folder. This will first require you to become a registered volunteer using our Registered Volunteer Interest Form.
Setting Up Your Camera
For those with cameras that are not set up yet or those who would like to improve photo quality and the likelihood of photos being captured, here are some suggestions and general advice about camera set up that we have found.
Camera Qualities and Settings:
- Set the camera so that it takes a burst of 3-5 photos per trigger
- Cameras with faster shutter speeds that take a photo is 1 second or less are best
- Trigger speed (the time between when motion is detected and when a photo is taken) ideally would be less than 0.5 seconds
- With higher motion sensitivity, there is an increased chance of capturing a photo of an animal. However, this might also increase the number of blanks (photos triggered by non-animal related motions such as wind) that you get
- Setting the interval between multiple triggers to be between 10 and 60 seconds would be best, this will decrease the number of recaptures you will have of an individual animal and help reserve memory space
- Make sure every time you set up, change the batteries and/or change the memory card and check that the date and time are accurate
When setting up your camera, make sure to be very aware of your surroundings (make sure you are safe during setup) and to put the camera in a location that is safe for both the animals and your camera.
Location:
- Attach the camera to a something sturdy like a tree where the camera is going to stay still in place (not sway)
- It is best to place it between 2 and 3 feet above the ground
- Avoid places with lots of human or traffic activity as those motions may set off the camera
- Account for future vegetation growth or any other obstructions that may block the camera’s view. Additionally, watch out for any easily swayed vegetation and account for how windy the area is since the moving objects will cause the camera to misfire.
- Be aware of your camera sensor’s range and make sure the target area where animals would be moving through is within that range
- An optimal location is an open area with 10-13 meters of detection distance, though this is not necessary
- If there are obvious marks of mammals or the paths they may take, placing the camera nearby will increase chances of sightings
- Marks of wildlife may be tracks, scat, burrows/nests, and/or feeding remains
- If you are able to find a thin line of compressed blades of grass, this is indicative of the regular path followed by an animal. You can follow this trail and look for “bottlenecks,” or areas where an animal has to pass through a narrow passage.
Orientation:
- If your camera is triggered by a heat sensor, avoid orienting your camera toward a target site that is easily heated by the sun as that may cause your camera to misfire during the day
- The camera should be oriented parallel to the ground or pointed slightly downward
- You can place a stick between your camera and the post to change its angle.
- Do not orient it directly east or west as to avoid sun glare ruining your photos
- Avoid orienting it towards a surface that strongly reflects light to also avoid glares ruining your picture
After setting up your camera, as said earlier, make sure that the date and time are both accurate as to get accurate time stamps for photos. It is suggested to check the camera for photos every 5-12 days depending on camera battery life. Once again when you check the camera, be aware of the surroundings of your camera site. When you have photos, you can submit your photo(s) by clicking here.

**Note: We would like that the data we collect be a true representation of animals in the area. With this, we ask that you do not set out any bait as that will influence the behavior of the animals in the area. Thank you!
Your participation is extremely valuable for our research as it adds to the data that allows us to monitor the bears’ location besides our fur collection corrals. If you would like to contribute further by reporting sightings or simply by recording your hikes, complete this form.
If you have any questions or comments on the project and your contribution, you can contact us at citscima@amherst.edu or massbears@amherst.edu.

You must be logged in to post a comment.